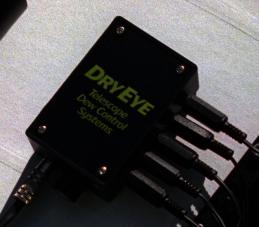

In February of 94 I bought my first telescope. I enjoyed it a great deal but on dewy nights regretted that I had no effective way to remove, or keep off the dew build up on my optics. Finally I invested in the Dry Eye telescope dew control system. I did know of its existence but only was convinced of its usefulness when other similar scopes were having no problem with dew. I haven't regretted the purchase. I have actually seen this system totally clear a fully dewed schmidt-cassegrain in 20 minutes.
A quote from the manual:
The Dry Eye system is designed specifically with one goal in mind; to prevent the formation of dew on your telescope's optics thus increasing valuable observing time.
Since Mike Pendleton, the maker of this fine product is a friend of mine, I thought a web page with examples of installation could make for good information for the curious. So without further delay, here is that page.
Each image can be clicked on to retrieve a larger more detailed image. Please feel free to browse. If the images are too dark for you, turn up the brightness of your monitor. (This is one of the problems of differing systems and tastes.)
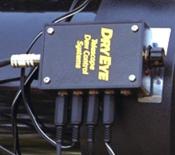 Here is a picture of my control unit which should give you a good feel for the layout. On the right is the control knob, LED and maximum preferred marker. On the far left is where the RCA power jack is plugged in. The bottom of the picture shows the five heater outlets, four of which I currently use.
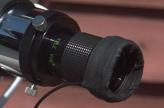
 The left image shows one of the makers eyepieces with hockey tape as the substance that holds a heater loop into place.
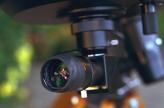
On the right is an image of my 30mm Plössl with rubber holding the heater loop into place. You can actually see the heater loop inside its confined space.

 To the left is a detailed shot of my telrad. This simple attachment alone has made the Dry Eye worth the money. Very sticky tape holds the heater loop in place.
On the right is Mike's 80mm finder with a heater loop inside the dew shield of the objective lens.
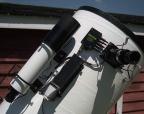
 These two images are for you reflector users. The left image displays the full layout of the makers 16 inch scope. Notice some of the wiring enters into the tube assembly.
On the right is a detailed layout of Mike's 16 inch secondary mirror.
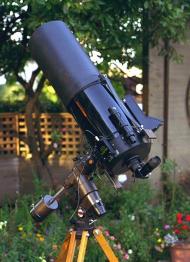
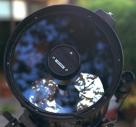 Here are two images of my schmidt-cassegrain setup. I tend to leave most everything in a removable state, excluding the corrector lens and Finder loops which I just pack with the scope. Note the extremely light (ounces) and flexible dew shield.
On the right is a detailed shot of my 8 inch schmidt-cassegrain corrector lens setup. Note how close to the lens the heater loop is. It is suggested that you use a dew shield. Especially under breezy conditions. That is common sense.
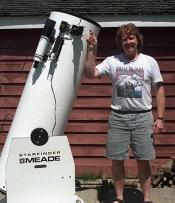 Mike and his Mead 16" Starfinder (with some extra customization).